
How to Do Laundry for the First Time: Step by Step
Laundry looks confusing because there are about 15 settings on the machine and you’re not sure which ones actually matter. Here’s the truth: you only need a few of them. This guide walks you through the entire process, from sorting to folding, so you can get clean clothes without shrinking your favorite hoodie or turning everything pink.
What You Actually Need Before You Start
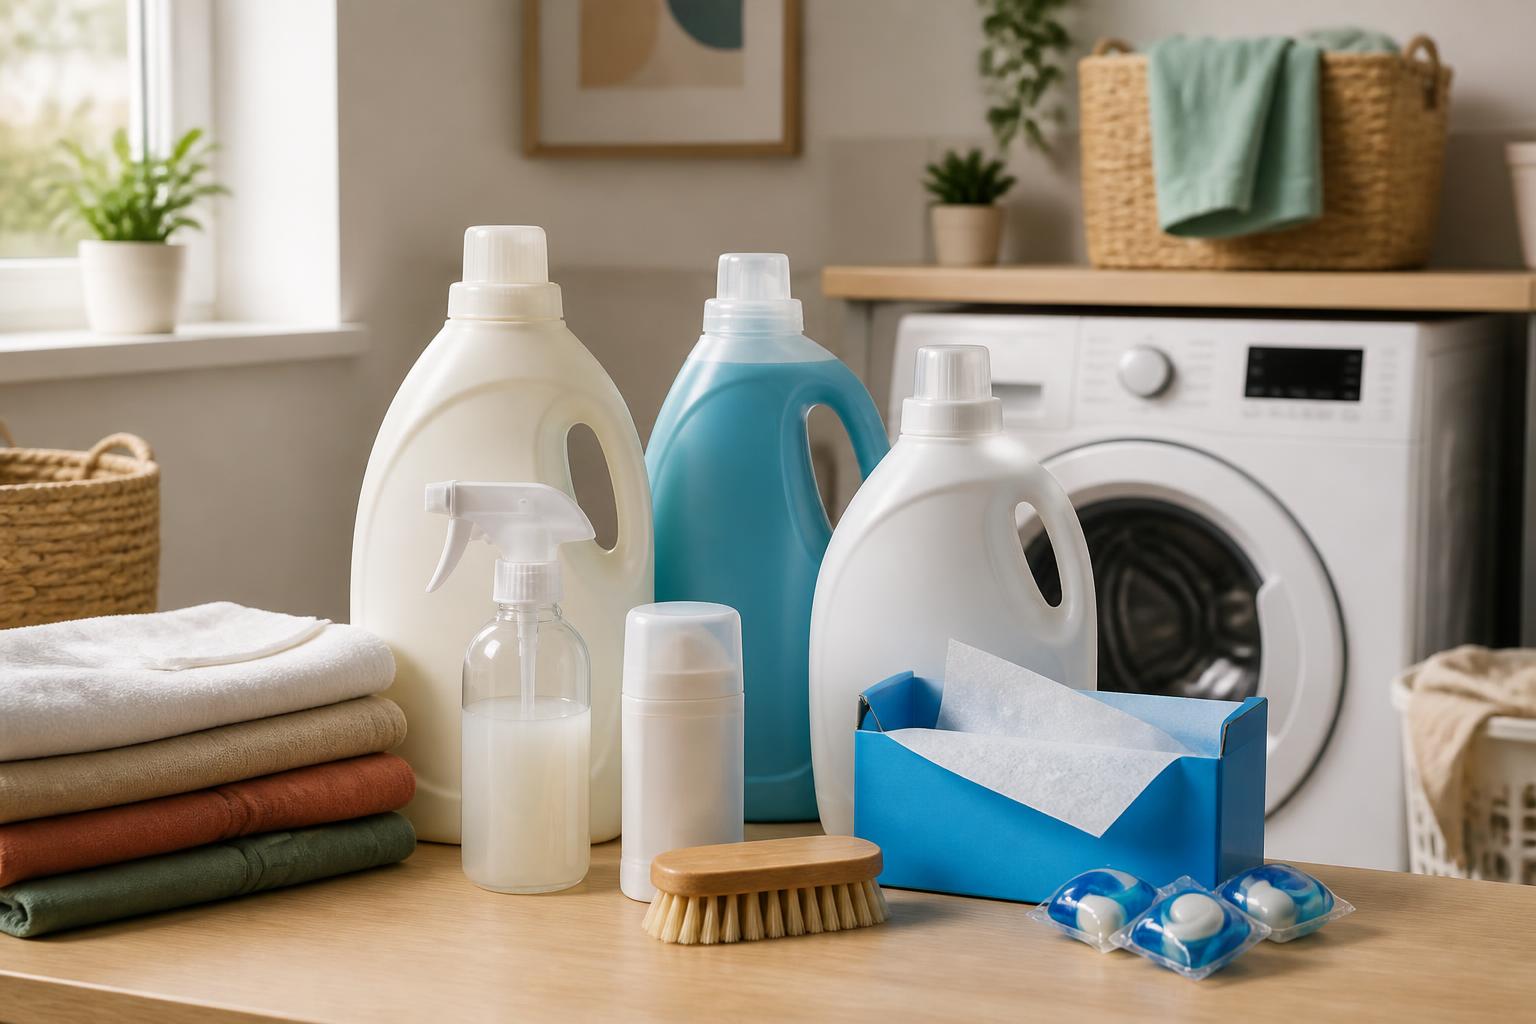
You don’t need a cart full of specialty products. For basic laundry, gather these:
- Detergent — Liquid or pods both work. Pods are pre-measured, which removes guesswork.
- Fabric softener (optional) — Skip it if you have towels; it reduces absorbency.
- Stain remover (optional) — A stick or spray for spots you notice before washing.
- A laundry basket or hamper — Two is better: one for lights, one for darks.
- Dryer sheets or wool dryer balls (optional) — These reduce static and add scent.
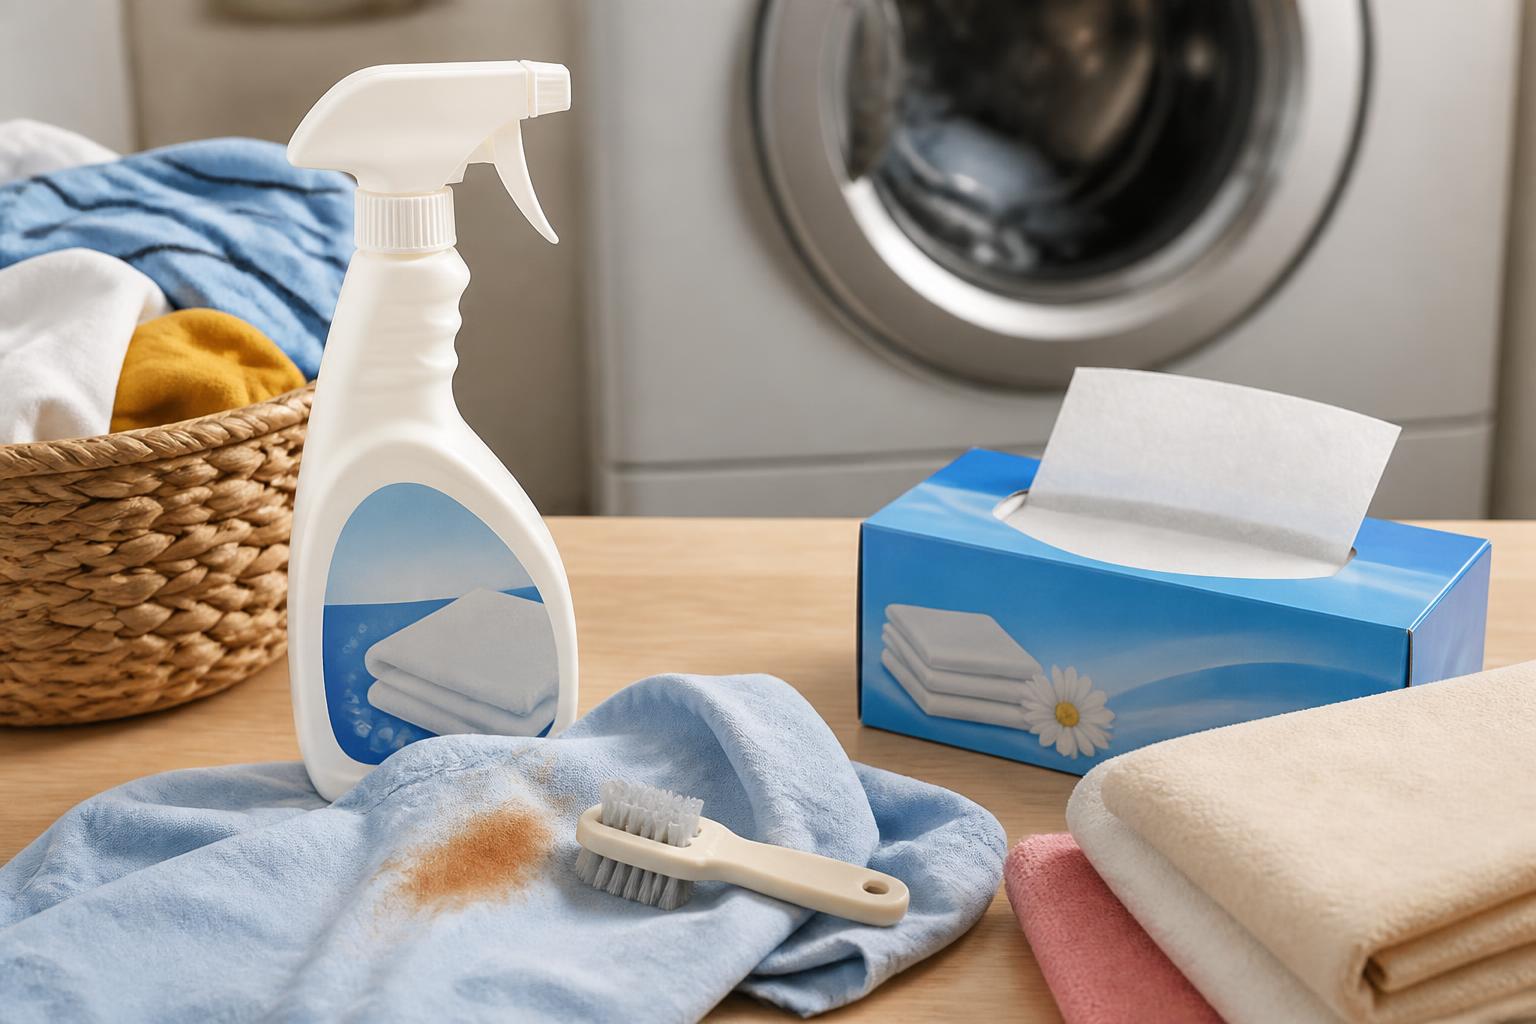
That’s the whole list. You can add more later if you want, but this gets you through a full load.
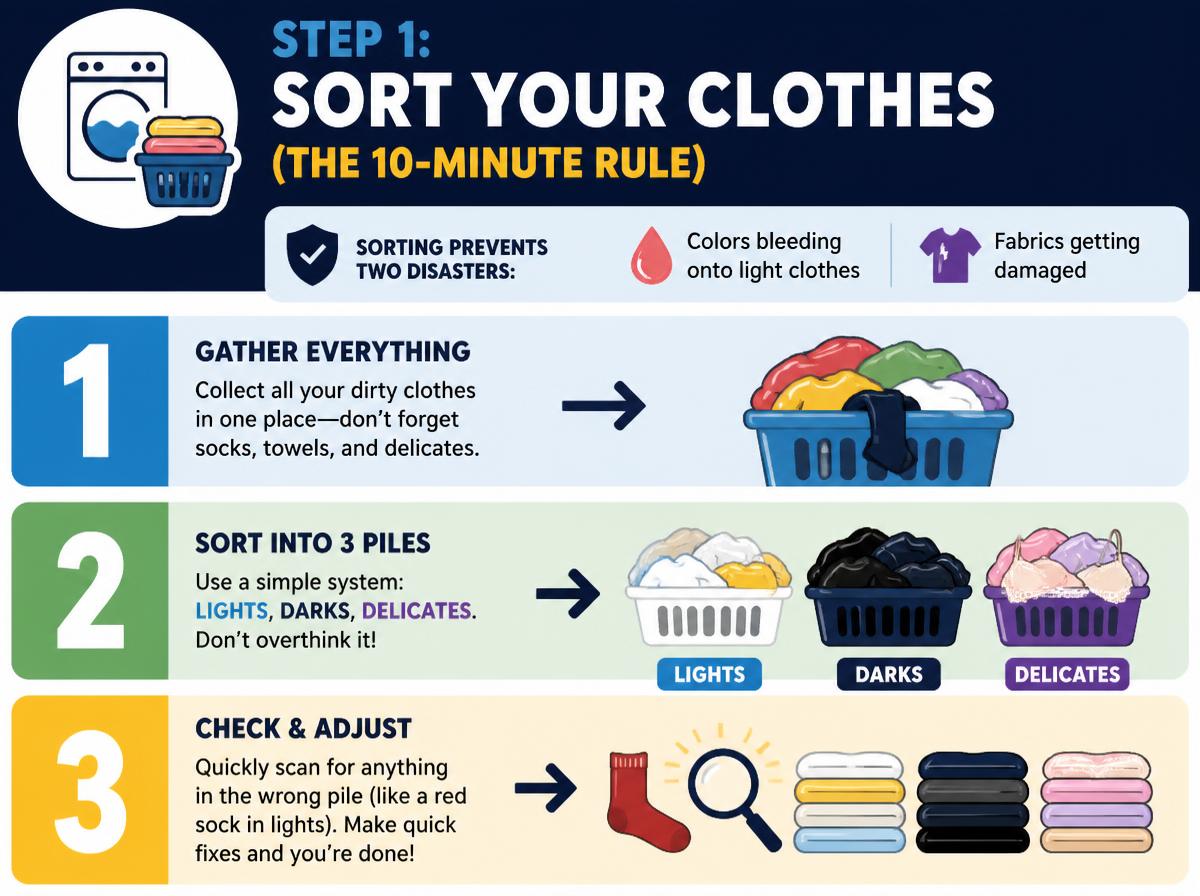
Step 1: Sort Your Clothes (The 10-Minute Rule)
Sorting prevents two disasters: colors bleeding onto light clothes and fabrics getting damaged. You don’t need to separate every single item. Use these three piles:
| Pile | What Goes In | Why |
|---|---|---|
| Lights/Whites | White tees, light gray, pastels, white socks/underwear | Keeps them from picking up dye from darker items |
| Darks | Black, navy, dark gray, reds, bright colors | Prevents dye transfer onto lighter clothes |
| Delicates | Bras, silk, lace, anything labeled “hand wash” | Needs gentler cycles or it will stretch, snag, or shrink |
One extra check: Turn jeans and dark items inside out. This slows fading and protects the outer fabric from rubbing against other clothes in the drum.
Common mistake: Sorting only by color and ignoring fabric type. A heavy denim jacket can damage a lightweight cotton tee in the same load. If you’re unsure, put the fragile item in the delicates pile.
Step 2: Check the Care Labels
Every piece of clothing has a tag with washing instructions. It looks like a small grid of symbols, but you only need to decode three things:
- The tub symbol — This is the washing instruction. A number inside (like 30, 40, 60) is the maximum water temperature in Celsius. A hand in the tub means hand wash only.
- The triangle symbol — This covers bleach. An empty triangle means any bleach is fine. A triangle with lines means non-chlorine bleach only. A crossed-out triangle means no bleach at all.
- The circle symbol — This is for dry cleaning. A crossed-out circle means do not dry clean. If you see this, it’s usually a sign the garment is delicate.
The practical rule: If the tag says “machine wash cold” and “tumble dry low,” follow that exactly. If you can’t find a tag, default to cold water and low heat — that’s the safest combination for almost everything.
Common mistake: Ignoring the “wash separately” note on new dark jeans or red items. These bleed dye for the first few washes. Run them alone or with similar colors.
Step 3: Pretreat Stains Before Washing
Once a stain goes through the dryer, it’s much harder to remove. Heat sets stains permanently. So check your clothes before they go in the machine.
How to pretreat:
1. Act fast. Fresh stains come out easier than dried ones.
2. Apply stain remover directly to the spot. Rub it in gently with your fingers or a soft brush.
3. Let it sit for 5–10 minutes before washing. This gives the product time to break down the stain.
4. Check after washing. If the stain is still there, do not dry it. Repeat the treatment and wash again.
Common mistake: Rubbing a stain hard. This pushes it deeper into the fibers. Blot or dab instead.
Step 4: Load the Machine (Don’t Overstuff)
The machine needs room for clothes to move. If you pack it to the top, water and detergent can’t reach everything, and clothes come out still dirty or with soap residue.
The hand test: You should be able to fit your hand flat on top of the clothes after loading. If you can’t, remove a few items.
How to load:
- Put large items in first — towels, sheets, jeans. They need the most space.
- Add smaller items on top — tees, socks, underwear.
- Don’t wrap items around the agitator (the center column in top-loaders). Spread clothes evenly around it.
- Check pockets before loading. A pen or tissue can ruin an entire load.
Common mistake: Washing one huge towel with a few small items. The machine becomes unbalanced and the load doesn’t clean properly. Mix item sizes for better water flow.
Step 5: Add Detergent (And Know How Much)
More detergent doesn’t mean cleaner clothes. It means more residue left on fabric, which attracts dirt faster and can irritate skin.
How much to use:
- Liquid detergent: Follow the cap markings. For a regular load, that’s usually about 2 tablespoons. The cap lines are often at the “1” or “2” mark.
- Pods: One pod per load. Place it in the drum before adding clothes, not in the dispenser drawer.
- High-efficiency (HE) machines: Use HE detergent only. It’s low-sudsing. Regular detergent creates too many suds in HE machines and can cause errors.
Where to put it:
- Top-loader: Add detergent to the drum before clothes, or use the dispenser if your machine has one.
- Front-loader: Use the detergent drawer. The main compartment is usually marked “II” or “Main Wash.”
Common mistake: Using the “max fill” line on the detergent cap for every load. That’s for heavily soiled, large loads only. For a normal load, use half that amount.
Step 6: Choose the Settings (Only Three Matter)
Machine panels look overwhelming, but you can ignore most of the options. These three settings do the heavy lifting:
| Setting | What It Does | When to Use |
|---|---|---|
| Water temperature | Cold (60–80°F), warm (90–105°F), hot (120°F+) | Cold for most loads; warm for heavily soiled items; hot for whites and towels |
| Cycle length | Normal (30–50 min), quick (15–20 min), heavy duty (60+ min) | Normal for everyday clothes; quick for lightly worn items; heavy duty for gym clothes, workwear, bedding |
| Spin speed | Low (400–600 RPM), high (1000+ RPM) | High for cotton and towels; low for delicates and synthetics |
The default rule: Cold water, normal cycle, high spin. That works for 80% of your laundry.
When to deviate:
- Towels and sheets: Use warm or hot water to kill bacteria and remove body oils.
- Underwear and socks: Warm or hot water is safer for hygiene.
- Delicates: Cold water, gentle cycle, low spin.
- New dark clothes: Cold water always, to lock in dye.
Common mistake: Using hot water on everything because you think it cleans better. Hot water shrinks cotton and sets protein stains (blood, sweat, food). Cold water cleans fine for most everyday wear.
Step 7: Dry Your Clothes (Know What Shrinks)
The dryer is where most laundry damage happens. High heat shrinks cotton, damages elastic, and sets wrinkles.
Before you dry:
- Check the care label again. If it says “line dry” or “lay flat to dry,” don’t put it in the dryer. Hang it on a rack or clothesline instead.
- Shake out each item as you transfer it from the washer. This reduces wrinkles and helps items dry evenly.
Dryer settings:
- Regular/high heat: Towels, sheets, cotton underwear, jeans.
- Medium heat: Most everyday clothes — tees, sweatshirts, pajamas.
- Low heat: Synthetics, activewear, anything with elastic.
- Air fluff (no heat): Items that just need freshening up, or delicates you’re risking in the dryer.
The timing rule: Check clothes before the cycle ends. If items are still slightly damp, that’s fine — pull them out and hang them. This prevents over-drying, which causes shrinkage and static.
Common mistake: Drying everything on high heat because it’s faster. This is the number one cause of ruined clothes. When in doubt, use low heat and add time.
Items that should never go in the dryer:
- Bras and swimwear (elastic melts)
- Anything with a “line dry” label
- Shoes (unless the label says otherwise)
- Wool sweaters (they felt and shrink)
Step 8: Fold or Hang Immediately
Clothes left in the dryer or basket develop wrinkles that are hard to remove. Fold or hang within 30 minutes of the cycle ending.
Quick decision guide:
- Hang: Button-down shirts, blouses, dresses, anything that wrinkles easily.
- Fold: Tees, sweatshirts, jeans, pajamas, underwear, socks.
- Fold and stack: Towels and sheets.
A simple folding method for tees:
1. Lay the shirt face down.
2. Fold one side in about a third, tucking the sleeve in.
3. Fold the other side the same way.
4. Fold the bottom up to the collar.
5. Flip it over. Done.
Common mistake: Leaving wet clothes in the washer overnight. They develop a mildew smell that requires rewashing. Set a timer or phone reminder for when the cycle ends.
Common Mistakes That Ruin Clothes
These are the failures that send people back to the store for replacements:
1. Forgetting to check pockets. A tissue shreds and covers everything in lint. A pen leaks ink everywhere. A lip balm melts and leaves greasy stains. Check every pocket before loading.
2. Overloading the machine. Clothes come out damp, soapy, or still dirty. The machine also works harder and wears out faster.
3. Using too much detergent. It leaves residue that makes clothes feel stiff and look dull. It can also cause mold in front-loaders.
4. Drying everything on high heat. This shrinks cotton, melts synthetic fibers, and ruins elastic. Use low heat unless you’re drying towels or sheets.
5. Ignoring care labels. They exist because manufacturers tested the fabric. Follow them and your clothes last longer.
6. Zipping zippers and leaving hooks open. They snag and tear other items in the load. Zip zippers and fasten hooks before washing.
7. Washing new dark items with light clothes. The dye bleeds for the first few washes. Separate them until the color stops transferring.
When to Stop and Rewash
Sometimes a load comes out wrong, and the fix isn’t more drying or more detergent. Here’s how to tell the difference between a minor issue and a redo:
Rewash if:
- Clothes smell musty or like mildew — even after drying. This means bacteria survived. Rewash with hot water and a cup of white vinegar in the rinse cycle.
- You see soap residue or white streaks on dark clothes. Run the load again with no detergent and an extra rinse cycle.
- A stain is still visible after the first wash. Do not dry it. Treat it again and rewash.
Stop and check the machine if:
- The washer shakes violently or makes a loud banging sound. Stop the cycle, redistribute the clothes evenly, and restart. If it keeps happening, the load is too small or too large.
- Water pools in the drum after the spin cycle. The drain may be clogged or the machine may have an error. Check the lint filter on the drain hose if your machine has one.
- The dryer takes over two cycles to fully dry a normal load. Clean the lint trap first. If that doesn’t fix it, the vent hose may be blocked — that’s a fire risk, so stop using the dryer until it’s cleared.
Verify the fix worked: After rewashing, smell the clothes before drying. They should smell clean, not musty. Check that dark items show no white streaks. If the problem repeats after two rewash attempts, the machine likely needs maintenance — contact your landlord or building maintenance rather than running more cycles.
FAQ
What are the steps for a beginner to do laundry?
Sort clothes into lights, darks, and delicates. Check care labels for temperature and drying instructions. Pretreat any stains. Load the machine without overstuffing. Add the correct amount of detergent. Select cold water, a normal cycle, and high spin for most loads. Transfer to the dryer on low or medium heat, or hang to dry. Fold or hang items within 30 minutes of the cycle ending.
What is the correct order of doing laundry?
The order is: sort, check labels, pretreat stains, load the machine, add detergent, select settings, start the wash, transfer to the dryer or line, and fold or hang when done. The most important sequence is sorting before washing and checking labels before drying, because those two steps prevent the most damage.
What should I do when washing clothes for the first time?
Wash new clothes separately from your regular laundry for the first wash. Dark items, especially jeans and reds, bleed dye initially. Turn dark items inside out, use cold water, and wash on a normal cycle. Check the care label first — some items require hand washing or line drying. After the first wash, the item can go with your regular loads.
Why is it so hard to do my laundry?
Laundry feels hard because there are many settings and rules, but you only need to remember a few. The main challenges are sorting correctly, choosing the right temperature, and avoiding overloading. Once you learn the defaults — cold water, normal cycle, low or medium heat for drying — the process becomes routine. The difficulty usually comes from not knowing which settings matter and which ones you can ignore.
<!– cluster-navigation –>
Explore This Topic
- Back to Laundry basics for beginners
Related guides in this cluster: