
College Move-In Day Checklist: A Step-by-Step Plan
Moving into a dorm is a logistical puzzle with about 47 moving parts. This plan breaks it into four phases so you can pack with purpose, not panic. The goal: get everything into the room, get it functional, and get to dinner before the dining hall runs out of pizza.
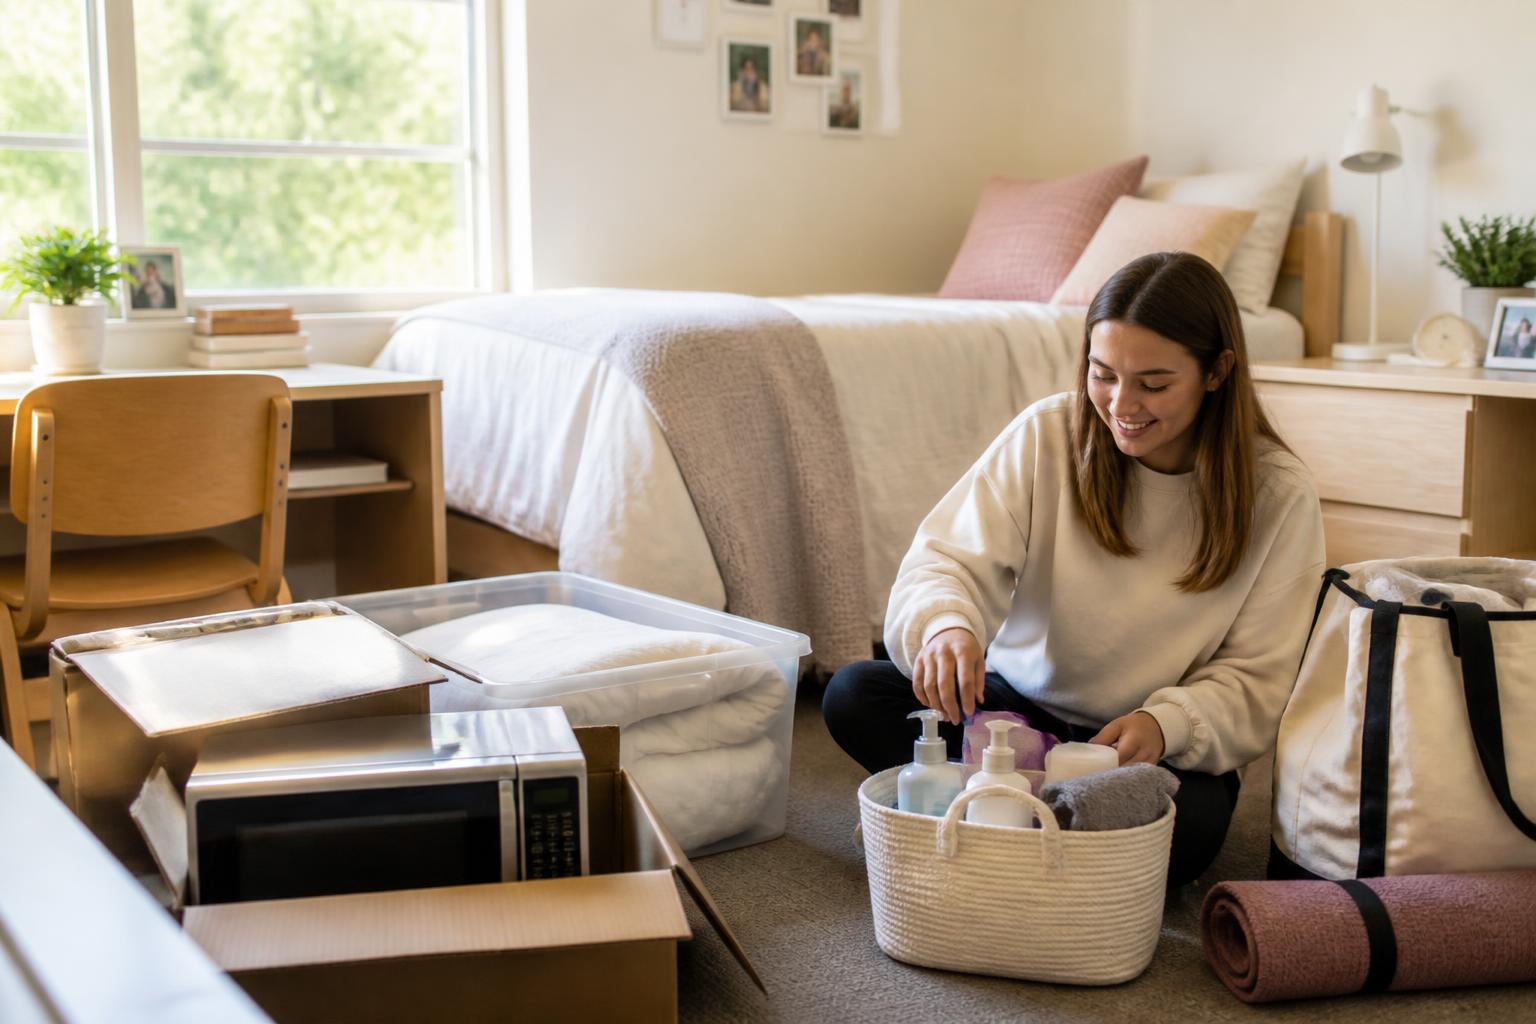
Phase 1: The Two-Week Prep Window
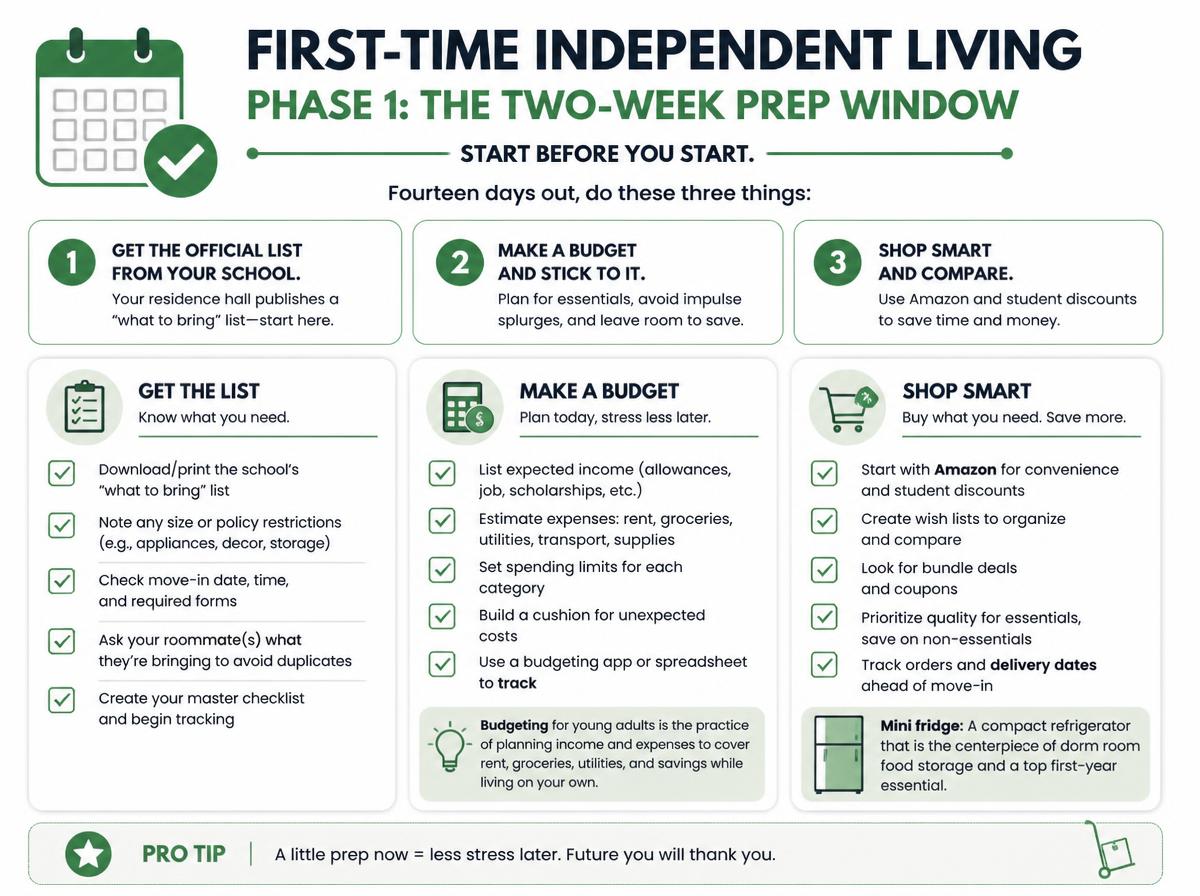
Start before you start. Fourteen days out, do these three things:
1. Get the official list from your school.
Your residence hall publishes a “what’s provided” list. Beds, desks, dressers, and closets are standard. Mini-fridges and microwaves often are not. Some schools ban certain items (halogen lamps, tapestries on ceilings, extension cords without surge protection). Check the housing portal before you buy anything. This saves you from hauling a Keurig to a dorm that bans them.
2. Coordinate with your roommate.
You don’t need two mini-fridges, two microwaves, or two 12-pack boxes of ramen. Text your roommate and split the shared stuff: one person brings the fridge, the other brings the microwave. One brings the TV, the other brings the streaming stick. This halves the cost and frees up floor space you’ll actually need.
3. Pack by “first night” and “first week” categories.
Separate your stuff into two mental piles. First night: bedding, toiletries, one change of clothes, phone charger, medications, shower shoes. First week: everything else. Label those boxes clearly. When you arrive exhausted at 2 PM, you can set up your bed and shower before tackling the full room.
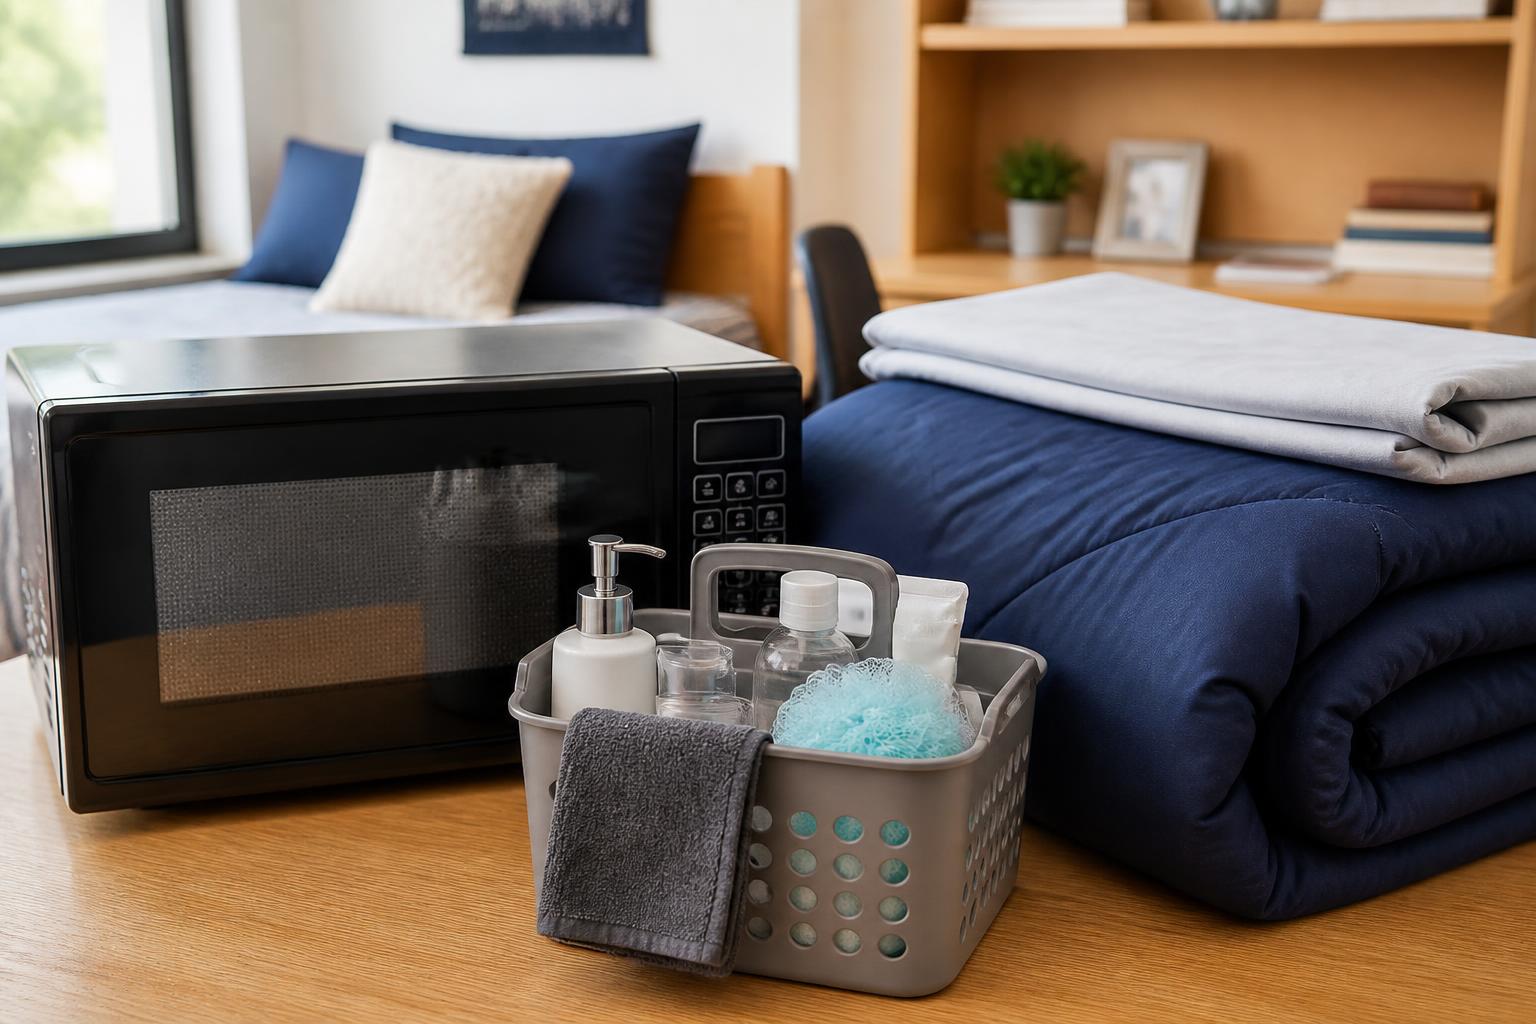
Phase 2: The Packing List (By Zone)
Work through these zones so you don’t forget the boring but essential stuff.
Bedding and Sleep
- Extra-long twin sheets (most dorm beds are XL twin — regular twin won’t fit)
- Mattress pad or topper (dorm mattresses are… experienced)
- Comforter or duvet
- 2 pillows (one for sleeping, one for propping up in bed)
- 1-2 extra blanket layers for when the AC is aggressive
The mistake: Buying regular twin sheets. Check the mattress size on your housing portal. XL twin is the default at most US schools.
The branch: If your housing portal lists the bed as a “twin” without the XL, measure the actual mattress length when you arrive. Some older halls still use standard twin. If you already bought XL sheets and the bed is standard twin, the fitted sheet will bunch and pop off corners all semester. Return them before move-in weekend ends and swap for the right size.
Bathroom and Shower
- Shower caddy with drainage holes
- Shower shoes (flip-flops you only wear in the shower)
- Towels: 2 bath, 1 hand, 1 washcloth
- Toiletry bag with travel sizes for the first week
- Medicine kit: pain reliever, cold medicine, band-aids, thermometer
- Toilet paper (the dorm provides it, but you’ll want your own for the first 24 hours)
A YASONIC Shower Caddy Adhesive set works if your bathroom has tile or smooth surfaces — the adhesive pads hold up to 40 lbs, so you can mount shelves without drilling. If your dorm bathroom is communal, stick with a portable caddy you can carry back and forth.
The failure mode: Adhesive caddies fail when you mount them on textured or painted drywall. If the pad won’t stick flat, don’t keep pressing it — the shelf will drop your shampoo bottle at 7 AM. Move it to a tile surface or switch to a hanging caddy that hooks over the shower head.
Laundry
- Laundry bag or basket with a sturdy frame
- Detergent pods (no measuring, no spills)
- Dryer sheets
- Stain stick
- Quarters or a laundry card (check if your machines take cards or an app)
The Lifewit 80L Laundry Baskets are a solid choice here — the iron wire frame means the basket stands up on its own, so it won’t collapse into a sad fabric puddle when it’s half-full. The 80L size fits a week’s worth of clothes without overflowing.
Electronics and Power
- Power strip with surge protection (not a plain extension cord — many dorms ban those)
- Phone charger (6-foot cord, not 3-foot)
- Laptop charger
- Headphones (wired or wireless, but noise-canceling helps in shared rooms)
- Desk lamp with a warm bulb
A Power Strip with 12 Outlets and 4 USB ports is worth the space. It has 12 AC outlets and 4 USB ports (including USB-C), so you can charge your phone, laptop, headphones, and a friend’s dead phone simultaneously. The 1200-joule surge protection rating is the spec that actually matters — it absorbs power spikes before they fry your laptop.
The verification step: After you plug everything in, check the strip’s circuit breaker. If it trips, you’ve overloaded the strip. Unplug the non-essentials (that second lamp, the mini-fridge if it’s on the same strip) and reset. If it trips again immediately with fewer devices, the strip itself may be defective — swap it before plugging your laptop back in.
Desk and Organization
- Desk organizer for pens, sticky notes, and chargers
- Command hooks (3M strips — the dorm’s best friend)
- Drawer dividers
- Small storage bins for cables and misc
- A whiteboard or corkboard for the door
Kitchen and Snacks
- Reusable water bottle
- Coffee mug or travel tumbler
- Bowl, plate, and utensils (one set each — you’re not hosting Thanksgiving)
- Snack stash in a sealed container
- Dish soap and a sponge
First-Night Box
Pack this separately and keep it in the car with you:
- Bedding (make the bed before anything else)
- Toiletries and shower shoes
- One outfit for tomorrow
- Phone charger
- Medications
- Water bottle and a snack
Phase 3: Move-In Day Execution
The actual day has a rhythm. Follow this order and you’ll be done before your roommate’s parents finish assembling their third storage cube.
Step 1: Check in and get your key.
Go to the check-in desk first. Get your room key, mailbox key, and any dorm-specific info (Wi-Fi password, laundry app, RA contact). Don’t haul anything upstairs before you know your room number.
Step 2: Make the bed.
This is non-negotiable. Put on the mattress pad, sheets, and comforter immediately. You will want to collapse at some point, and a made bed is the only acceptable collapse zone.
Step 3: Set up the power hub.
Plug in your power strip, then connect your laptop, phone charger, and lamp. This gives you a functional base before you start arranging furniture.
Step 4: Unpack the first-night box.
Put toiletries in the bathroom, meds in a drawer, and your change of clothes in the closet. Done.
Step 5: Tackle the big stuff.
Set up the fridge, microwave, and TV. Then move to clothes — hanging stuff first, then drawers, then shoes.
Step 6: The shared-space conversation.
When your roommate arrives, agree on the basics: where the trash can lives, who takes it out, and what the “quiet hours” expectation is for your room specifically. This takes five minutes and prevents 90% of roommate conflicts.
The escalation point: If you notice a maintenance issue that affects safety — a flickering outlet, a window that won’t latch, a door lock that sticks — stop your setup and file a work order before you unpack. Don’t wait until night. If the issue is electrical, don’t plug anything into that outlet. That’s a housing office problem, not a DIY fix.
Phase 4: The First-Week Failure Checkpoints
Move-in day ends, but the setup isn’t finished. Run these checks in the first seven days:
Day 1: Test your Wi-Fi.
Connect your laptop, phone, and any smart devices. If the signal is weak in your room, ask the RA about a wired connection or a Wi-Fi extender. Don’t suffer through a semester of buffering.
Day 2: Find the laundry room.
Walk there, check the machine requirements (quarters, card, app), and test one load. The worst time to learn the system is Sunday night with a full hamper.
Day 3: Check your surge protector’s capacity.
Count what you have plugged in. If you’re near the limit, unplug the non-essentials. A power strip is not an infinite power source — it’s a distribution hub with a rated capacity.
Day 7: Do a “what’s missing” audit.
By now you know what you actually use daily. Make a list of the gaps: a second towel, a better desk lamp, a longer charging cable. Order those now, not in week 8.
Common Mistakes to Skip
Buying too much before you arrive.
You don’t know your room layout, storage situation, or what your roommate is bringing. Buy the essentials, move in, then fill gaps based on what you actually need.
Forgetting the mattress pad.
Dorm mattresses are vinyl-covered and not comfortable. A $30-40 topper is the single best quality-of-life upgrade you can buy.
Bringing everything you own.
You don’t need 15 pairs of shoes, your full book collection, or that decorative lamp from your childhood bedroom. Dorms are small. Bring what you use weekly, not what you might use someday.
Skipping the surge protector.
A plain extension cord doesn’t protect your electronics from power spikes. The surge protector’s joule rating tells you how much energy it can absorb — higher is better. It’s a $25-50 investment to protect a $1,000 laptop.
Not labeling your boxes.
“Random stuff” on three identical boxes is useless. Write the zone and contents on the top and side of each box: “Desk — cables and pens” beats “Misc” every time.
If you’re packing for your first dorm room, the gear adds up fast. That’s where a student Prime membership helps — it covers the stuff you inevitably forgot, with free fast shipping so you’re not waiting a week for a mattress pad. Students 18-24 or currently enrolled get a 6-month free trial, then $7.49/month, with free fast shipping, Prime Video, Amazon Music, Prime Gaming, exclusive deals, and 5% cash back on Amazon purchases. Start your 6-month free trial here.
The 10-Minute Move-In Day Recap
If you only remember one section, remember this:
1. Check the school’s provided-items list before buying anything.
2. Coordinate shared items with your roommate.
3. Pack a separate first-night box.
4. Make the bed first.
5. Set up power before decor.
6. Use a surge protector, not an extension cord.
7. Buy XL twin sheets.
8. Bring shower shoes.
9. Label every box.
10. Do the day-7 audit and fill the gaps.
Move-in day is chaotic, but it’s a controlled chaos. Follow the sequence, and you’ll be eating dinner in the dining hall while other people are still fighting with a tangled web of extension cords and unlabeled boxes.
<!– cluster-navigation –>
Explore This Topic
Related guides in this cluster: